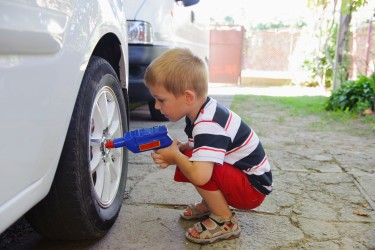
 Taking care of your car can be a great hobby – after all, we love taking care of cars so much that we opened our own repair shop! It’s also a great hobby to share with your children. Not only is it practical, but it can be fun and rewarding as well. Today, we explain some ways you can help get your child interested in car care and repair.
Your Kid and Your Car
Start With The Basics – No matter how versed you are in car repair, the first thing you’ll want to do is show your kid the basic inner-workings of the vehicle. Point out the key parts underneath the hood, from the spark plugs to the engine and battery. If possible, do this on multiple vehicles, as the equipment won’t always be in the same place. Once you’ve looked under the hood of a few vehicles, ask your son or daughter to identify some common parts. They’ll enjoy correctly naming the parts and their functions.
Simple Maintenance – The next step in getting your children interested in car care is having them help you complete simple maintenance tasks. In fact, if you have a teenager who will be driving soon, you can even make it a requirement that they learn how to service some aspects of the car before they take their temps test. Start them off real easy by having them show you how to refill your car’s windshield wiper fluid. If they have any questions, have them reference your car’s owner’s manual.
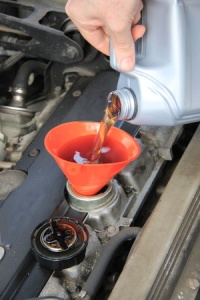
Hands-On Maintenance – Once they’ve mastered that simple task, it’s time to move on to bigger maintenance tasks that will be very helpful down the road. There are three specific tasks that every car owner should know:
Walk them through each process. Show them how to do it, and then ask them to complete the task on their own. These are great maintenance tips to know, as they can get you out of a difficult situation, and they can save you money.
Explain Car Problems – Lastly, since you’re not going to be able to fix every issue with your car on your own, bring your child with you to the auto center when you need to have work done. They probably won’t be able to watch the service be preformed, but the mechanic can help explain what was causing the issue. This will help your child learn what is causing a certain problem at an early age. Warning signs and sounds will become more familiar, and your child will have a better idea of how to handle future issues because of the knowledge they gained at an early age.
Car repair is a great skill to know, so start teaching your kid at an early age. They’ll thank you for it down the road!
